


 |
|  |
|  |
|  |
| 


We’ve got 6 automatic and 4 manual presses cranking out 40,000 custom designs daily!

Caps, Bags, Polos, T-Shirts, Uniforms, Small Runs, Large Runs, Small Lettering, Large Appliqué. Bring it on!


With digital printing, the art file is printed directly onto the t-shirt being decorated using ink jet technology.


9 Tips To Consider For Your Next Apparel Order
There are 9 things to consider before placing your next apparel order. To ensure that your apparel project runs smoothly and is delivered on time - make sure to follow a few simple guidelines by checking out this blog article.
Also included is a downloadable checklist for you to reference during your next decorated apparel order.
Jack Kilian, Vice President Jkilian@sharprint.com
Your Trusted Low-Cost Contract Decorator
For those of you I haven’t met, my name is George Kilian, founder of Sharprint. We're dedicated to serving the Ad Specialty Industry as contract decorators for over 30 years. We get free shipping from major apparel companies.
Click below to find out how PSST from San Mar can help process your orders more efficiently.
George Kilian, President & Founder Gkilian@sharprint.com
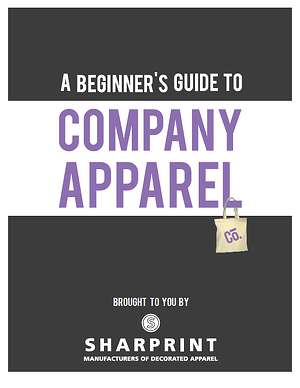 A Beginner's Guide To Company Apparel
Custom company apparel can benefit your business in a variety of ways. Branding your uniforms, t-shirts, or promotional apparel with personality can help develop a strong company image that people will remember.
This guide is a primer for the main points to consider when ordering custom company clothing and how to start the process.

-1.png?width=280&name=Sharprint%20Decorated%20Apparel%20Logo%20(40%20KB)-1.png "Sharprint Decorated Apparel Logo (40 KB)-1")


